Navigating the internet on an iPhone can feel like a treasure hunt—exciting but sometimes frustrating. If you’ve ever wondered how to unlock faster browsing or dodge those pesky ads, you might want to dive into the world of DNS settings. It’s like giving your phone a secret map to the web, leading it to the best routes and hidden gems.
Understanding DNS
DNS, or Domain Name System, plays a crucial role in browsing the internet. It translates human-friendly domain names into IP addresses, allowing devices to locate websites efficiently.
What Is DNS?
DNS serves as the phonebook of the internet. When a user types a website name into the browser, DNS converts that name into a corresponding IP address. This process occurs in milliseconds, enabling quick access to websites. Without DNS, users would need to memorize complex numerical addresses. It simplifies web navigation, making online experiences more intuitive.
Importance of DNS Settings
DNS settings significantly impact browsing speed and security. Customizing these settings can lead to faster page loads and improved performance. Many users prefer public DNS servers like Google or OpenDNS for enhanced reliability and security features. Adjustments can also help reduce unwanted ads, contributing to a cleaner browsing experience. By modifying DNS settings, users take control of their online interactions, ensuring a smoother, more efficient journey through the internet.
How to Access DNS Settings on iPhone
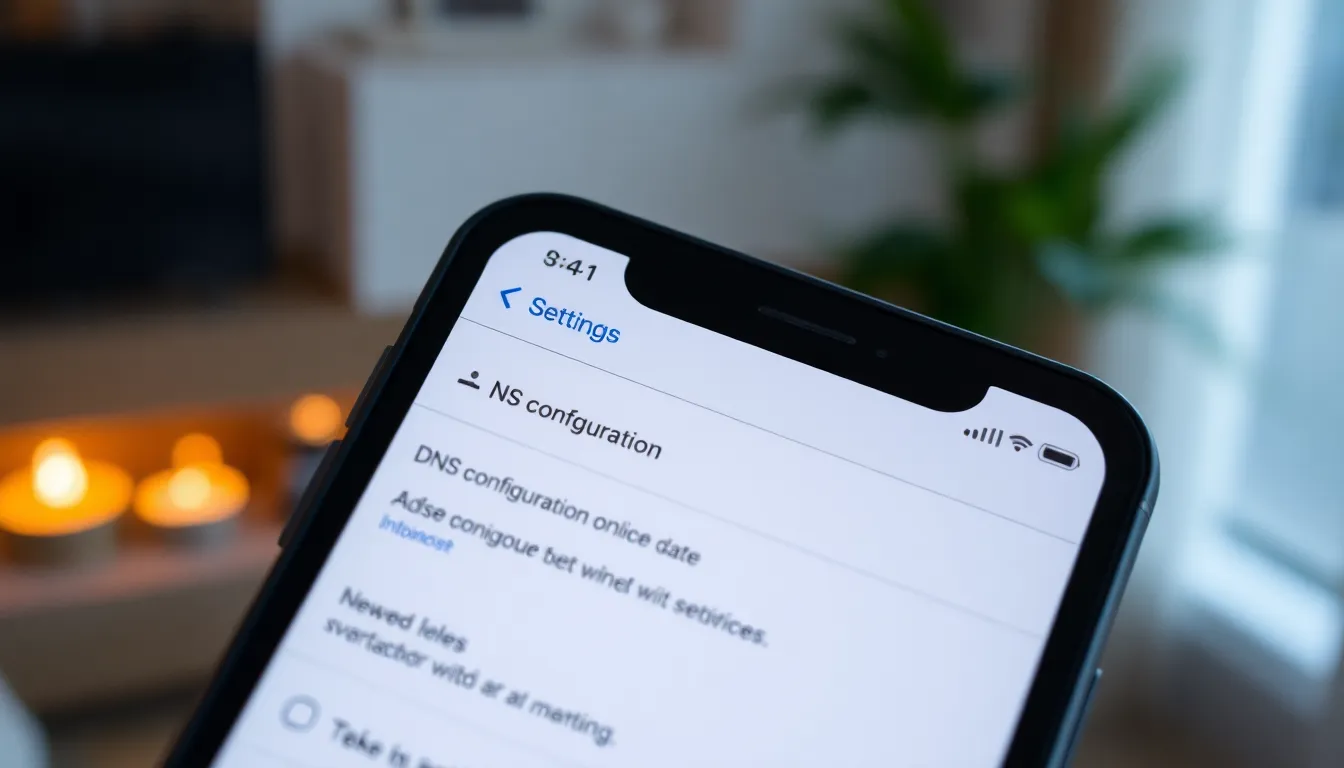
Accessing DNS settings on an iPhone enhances browsing speed and security. Adjusting these configurations is straightforward and can be done via Wi-Fi or cellular networks.
Using Wi-Fi Settings
- Open the Settings app on the iPhone.
- Tap on Wi-Fi to view available networks.
- Find the connected Wi-Fi network and tap the i icon next to it.
- Navigate to Configure DNS, then select Manual to enter custom DNS addresses.
- Input the preferred DNS servers, such as Google’s (8.8.8.8 and 8.8.4.4) or OpenDNS’s (208.67.222.222 and 208.67.220.220).
- Tap Save to apply the changes.
Using Cellular Settings
- Start by opening the Settings app.
- Tap on Cellular to access cellular data settings.
- Scroll down and select Cellular Data Options.
- Tap on Cellular Network and then scroll down to find DNS settings.
- Configure DNS addresses manually just as with Wi-Fi settings.
- Save the changes to complete the process.
Adjusting DNS settings according to network type ensures faster and more secure browsing experiences on mobile devices.
Configuring DNS on Wi-Fi
Configuring DNS on Wi-Fi can enhance browsing speed and security. Users can access these settings easily on their iPhones.
Step-by-Step Guide
- Open the Settings app on the iPhone.
- Select Wi-Fi and tap the information icon (i) next to the connected network.
- Scroll down to DNS and choose Configure DNS.
- Switch from Automatic to Manual.
- Enter the desired DNS server addresses.
- Save the changes and exit.
Completing these steps alters the DNS settings effectively for the selected Wi-Fi network. This adjustment provides access to faster and potentially safer browsing experiences.
Common DNS Server Addresses
Several reliable DNS server addresses enhance browsing performance. Google DNS uses 8.8.8.8 and 8.8.4.4. OpenDNS offers addresses 208.67.222.222 and 208.67.220.220. Cloudflare provides another option with 1.1.1.1 and 1.0.0.1. Each of these servers boosts speed and adds a layer of security against threats. Utilizing public DNS servers will lead to a smoother online experience.
Configuring DNS on Cellular Data
Configuring DNS on cellular data offers a way to improve internet browsing speed. Users can optimize their mobile experience by following specific steps.
Step-by-Step Guide
- Open the Settings app on the iPhone.
- Tap on Cellular, then select Cellular Data Options.
- Choose the option for DNS.
- Enter the desired DNS server addresses, like Google’s or OpenDNS’s.
- Tap Save to apply changes.
This sequence ensures that the DNS settings take effect immediately.
Considerations for Cellular DNS
Adjusting DNS on cellular data can lead to improved performance. Some mobile carriers may restrict certain DNS features. Users should test different public DNS servers to find the best fit. Compatibility and speed can vary based on location and service provider. Not all DNS servers offer the same level of security and reliability, thus experimenting can enhance the browsing experience.
Testing Your DNS Configuration
Testing DNS configurations ensures settings work effectively for an improved browsing experience on an iPhone. Users can confirm their adjustments enhance speed and security.
How to Check DNS Effectiveness
Check DNS effectiveness by using a browser to visit a website using the new settings. Monitor the loading speed of familiar sites. Tools like DNS Benchmark or websites such as DNSLeakTest.com can provide insights on response times and server performance. Consider switching between different DNS servers to compare loading times. Noting any improvements may indicate successful configuration, leading to a better internet experience.
Troubleshooting DNS Issues
Identify and troubleshoot DNS issues using simple steps. Restarting the iPhone often resolves minor connectivity problems. If issues persist, toggle the DNS settings back to automatic and test internet functionality. Verifying Wi-Fi connections or cellular data can also clarify whether the problem lies in the DNS configuration or the network. Documenting changes made can help pinpoint any errors. Remaining persistent in testing different settings can enhance browsing reliability on the device.
Adjusting DNS settings on an iPhone can significantly enhance the overall browsing experience. By selecting reliable public DNS servers users can enjoy faster page loads and improved security while navigating the web. The step-by-step guides provided ensure that anyone can easily modify their DNS settings whether on Wi-Fi or cellular data.
Testing and troubleshooting DNS configurations is essential for optimizing performance. With a bit of experimentation users can find the best settings tailored to their needs. Embracing these adjustments empowers users to take control of their online interactions resulting in a smoother and more efficient internet experience on their iPhones.